
Maple Grove Wood Flooring has been doing wood floor refinishing in Maple Grove, MN for more than 20 years, serving surrounding cities including Dayton, Brooklyn Park, Champlin, Corcoran and Plymouth. Refinishing is the largest part of what we do, and in this market that is no accident: the city’s modal build decade is the 1980s, and roughly two thirds of the housing stock here went up before 2000. The floors that came with those houses are now at their second refinish or at the end of their service life.
Refinishing is the one flooring job where the result is decided almost entirely before a machine is switched on. Whether your floor needs a recoat or a full sanding, how much wood is left above the tongue, what the moisture readings say, and which finish system suits the house are all answerable in the first visit. Getting them right is the difference between a floor that looks new for a decade and one that has to be redone.
So we write the answers down. Your quote names the price per square foot, the minimum project size, the finish chemistry, the number of coats, the cure schedule, and the dates furniture, rugs and pets come back. Nothing on that list is a judgment call we make quietly on site once the furniture is already out of the room.
Deciding Between a Recoat and a Full Sanding
Wear That Has Stayed in the Film
A floor whose damage has not left the finish is a candidate for a buff and coat. Dull traffic lanes, fine surface scratching, a sheen that has gone flat in front of the sink — those live in the coating, and an abrasive screen plus one fresh coat resolves them in about a day. We check by water-dropping and by looking at scratches in raking light, because a scratch that catches a fingernail has reached the wood and changes the answer.
Damage That Only Bare Wood Fixes
Gray or water-stained boards, cupping that needs flattening, overwood at the board edges, a previous sand-through, and finish that is peeling or delaminating all rule out a recoat. So does any color change, since stain cannot be applied under an existing film. Once any of these are present the floor comes down to raw wood, and paying for a recoat first simply postpones the same job by a few months.
What We Measure Before Quoting Either
Before a number is written we take moisture readings on the boards and the subfloor, check remaining thickness at a threshold or register cut, and look for the reasons a previous finish failed. On a lower level we read the slab itself rather than inferring it from the floor above. That last one matters here: this is basement country, and a refinish over a slab problem nobody measured comes back as cupping within one heating season.
Our Step-by-Step Wood Floor Refinishing Process
Step 1: Readings, Scope and a Written Number
The first visit is measurement, not sales. We meter the flooring and the subfloor, record equilibrium moisture content and room relative humidity, note the species, cut and remaining thickness, and identify any board that has to be replaced rather than sanded. You leave that visit with a written price per square foot, the minimum project size, and a scope that says which rooms, which stairs and which trim are in.
Step 2: Containment, Protection and Setup
Rooms are emptied, doorways sealed, and registers and return ducts covered so the furnace does not move sanding dust through the house. Base shoe comes off where the job needs a clean edge and goes back on afterward. Every machine runs connected to containment, and we tell you where the exhaust vents before the day starts rather than after you have asked twice.
Step 3: The Grit Sequence, Field and Edges
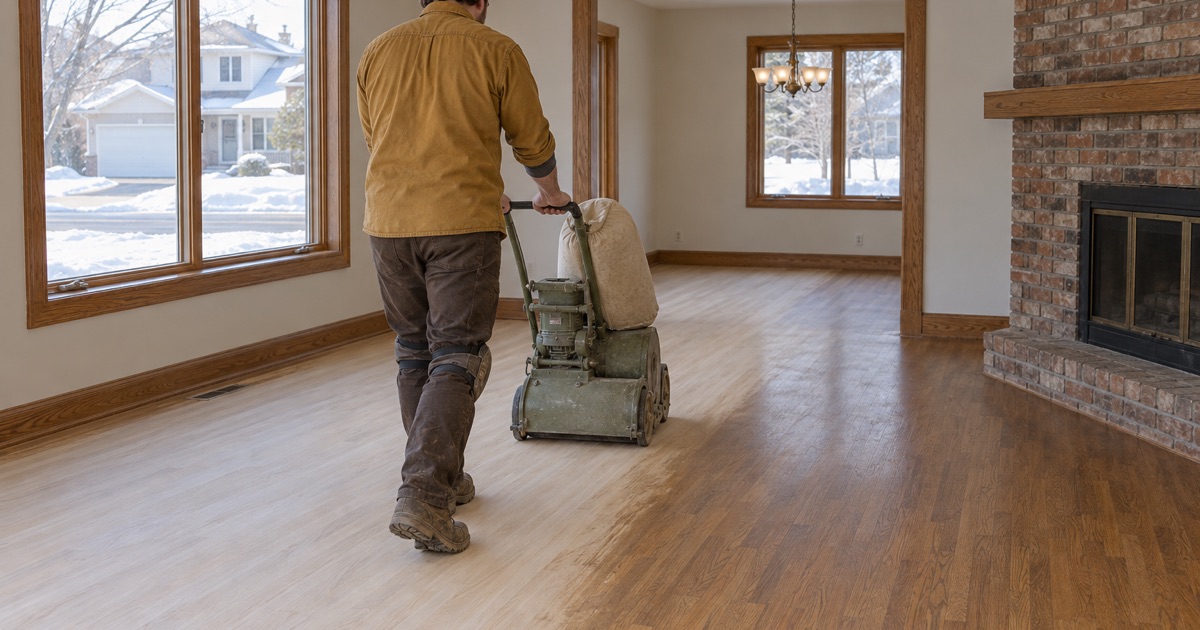
A full sanding runs a grit sequence, commonly 36 then 50 then 80, with each pass cutting out the scratch pattern left by the one before. The drum sander handles the field, the edger takes the perimeter, and an orbital pass blends the two so the room is not picture framed. Skipping a grit to save an hour leaves that coarser scratch under the finish, where the first low sun across the floor finds it.
Step 4: Water Popping, Stain and Sanding Sealer
If the floor is being stained, we water pop it first — raising the grain deliberately so color absorbs evenly instead of blotching across denser figure. Stain goes down and gets wiped to a sample you have already approved on your own boards. A sanding sealer follows where the finish system calls for one, which controls absorption and keeps the first topcoat from drinking unevenly into the wood.
Step 5: Coats, Cure and Handover Dates
Topcoats go on with an abrasive screen between them where the system requires it, at the coat count your quote named. Then the floor cures, which is a separate and slower thing than drying. We hand over dates: when you can walk on it in socks, when furniture returns on felt, when the dog is allowed back, and when rugs can go down without printing an outline into the sheen.
Finish Systems, Sheen and Color
Waterborne Polyurethane
Waterborne polyurethane cures close to water-clear and holds the wood near the color it is on the day it is sanded. White oak stays cool, red oak stays pink rather than going orange, and hard maple stays pale. It builds fast, so a multi-coat system can often finish inside a shorter window, and the low odor is why it wins in an occupied house.
Oil-Modified Polyurethane
Oil-modified polyurethane ambers as it cures and keeps ambering for years, which is either the warm traditional oak look you want or a surprise you did not sign up for. It is durable and forgiving to apply, and it costs less per gallon than most waterborne systems. It also carries a stronger odor and a longer recoat window, so we plan the household around it rather than the other way around.
Penetrating Oil Finishes and Sheen Choice
A penetrating oil finish sits in the wood rather than on it, so it can be spot-repaired without recoating a whole room, at the cost of a maintenance schedule you actually have to keep. Sheen is a separate decision from chemistry: a higher gloss reflects more and shows every dust nib and scratch, while matte and satin hide traffic. We put sample panels on your floor before either is ordered.
What It Costs, and When Refinishing Is the Wrong Answer
A Written Price Per Square Foot
Refinishing is priced per square foot, and the rate moves with condition, the finish system, the coat count, and how much furniture, trim and board replacement the job carries. There is a minimum project size as well, because setting up containment and unloading machines costs the same for one bedroom as for six. Both figures are on your quote in writing, before a crew is scheduled.
Engineered Floors and the Wear Layer
An engineered floor can be refinished only when the wear layer above the core is thick enough to survive a grit sequence. Under that threshold, sanding goes straight through into the plywood and the floor is finished for good. We measure the wear layer before quoting an engineered floor for sanding, and when the number says replacement rather than refinish, that is what we tell you.
Scheduling Around a Seven-Month Heating Season
State law holds a rented home at 68 degrees from October 1 through April 30, and that heated stretch is when indoor air in this climate drops well below the 30 to 50 percent relative humidity band wood floors are specified for. Boards are at their narrowest then. We name the season before booking, because a floor sanded flat at one end of that cycle behaves differently at the other.
- 20+ Years Experience
- Written Price Per Square Foot
- Moisture Tested Before Quoting